Setup and Configure Your Tv Now
Your one Stop Solution for all Home Entertainment Services.
Expert TV Installation & Activation
Welcome to Fast Comes your trusted one stop solution for entertainment services. Get Complete solution like TV Installation or TV Activation, Channel Activation, Cable Connection or many more for your New or Old TV, Home Theatre, Sound Bar or any Streaming Device.
Our Aim is to provide complete TV Solution from Mounting your TV to activation and providing Channels. We want to remove the confusion of modern TV installation so that you can enjoy seamless Entertainment.

Our Services
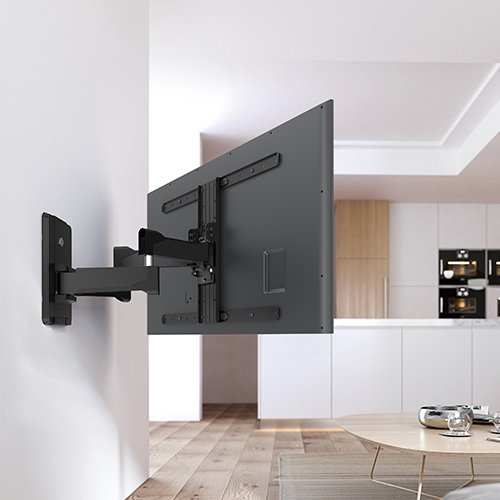
TV Mounting & Installation
Get Your TV mounted perfectly so that you can get ultimate viewing experience from all directions
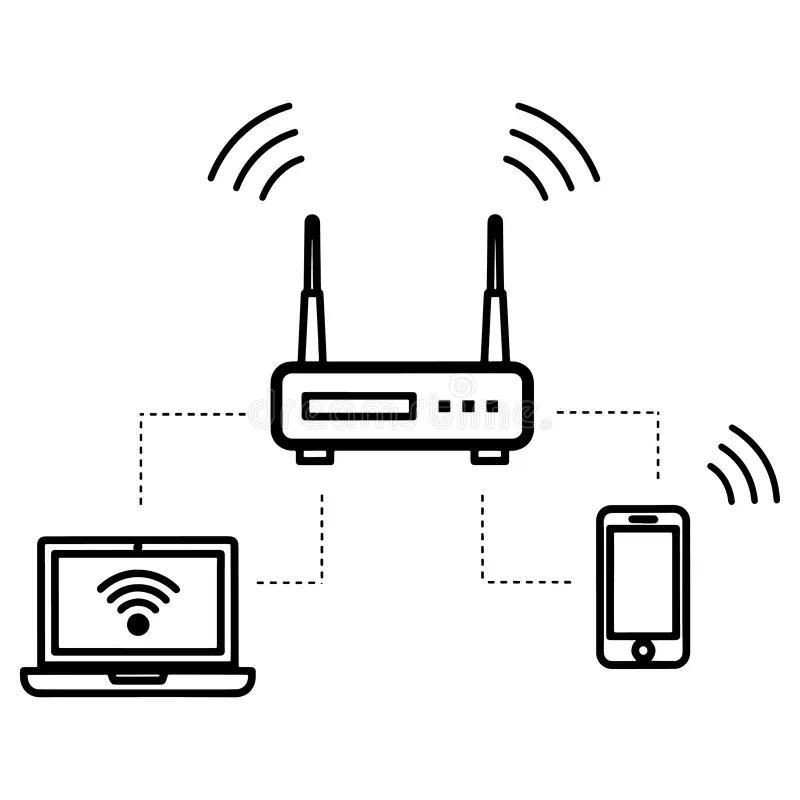
Wi-Fi Router & Network Configuration
We setup wifi and network configuration so that you can watch favourite shows in HD.
Streaming Device & Smart TV Activation
We will setup, configure and activate your all type of smart devices and apps.
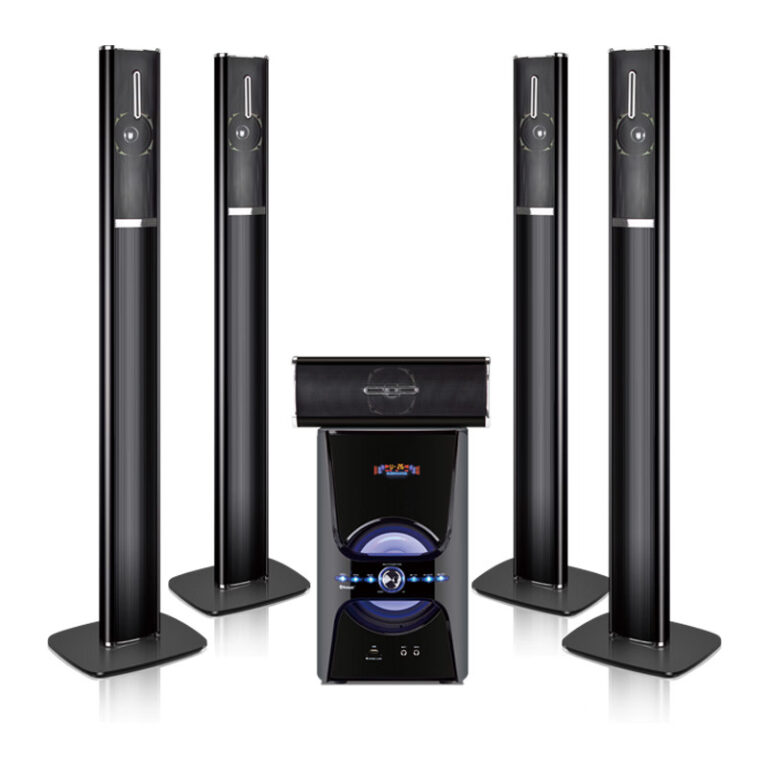
Home Theatre Installation
Experience cinema-quality sound and visuals right at home with custom home theatre systems.
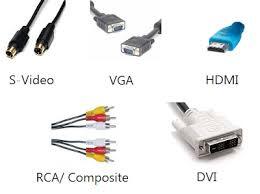
Wiring & Cable Connection
Will Fix and connect wire internalyy which makes your TV wires invisble.
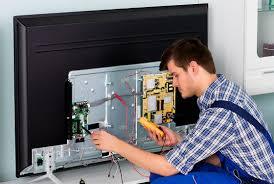
Troubleshoot & Repair
Get all issue fixed and repaired for all type of TV and devices.
Why Choose Us
Choose Our Services for fast same day help | Service for All Major Brands
✓ Fast and Reliable Assistance
✓ Easy-to-Follow Setup Guidance
✓ Experienced Technical Team
Complete TV Setup & Activation Guide
Welcome
Congratulations on your new Smart TV! This guide will help you set up, connect, activate, and optimize your television for the best viewing experience.
Step 1: Unbox Your TV
Carefully remove the TV and accessories from the packaging.
Verify that the following items are included:
- Television
- Power Cable
- Remote Control
- Batteries
- TV Stand (if included)
- User Manual
Inspect the TV for any physical damage before installation.
Step 2: Choose the Right Location
Select a location that:
- Has access to a power outlet
- Provides comfortable viewing distance
- Receives adequate Wi-Fi signal
- Allows proper ventilation around the TV
Avoid placing the TV near:
- Direct sunlight
- Heat sources
- Areas with excessive moisture
Step 3: Install the TV
Option A: Tabletop Installation
- Attach the TV stand according to the manufacturer’s instructions.
- Place the TV on a stable, level surface.
- Ensure the stand is securely tightened.
Option B: Wall Mount Installation
- Select a compatible wall mount.
- Locate wall studs or use appropriate anchors.
- Secure the wall bracket.
- Mount the TV according to mount instructions.
- Verify the TV is level and securely attached.
Step 4: Connect Power
- Plug the power cable into the TV.
- Connect the other end to a wall outlet.
- Press the Power button on the remote control.
The TV should now turn on.
Step 5: Pair the Remote
Some Smart TVs require remote pairing.
To pair:
- Insert batteries into the remote.
- Follow on-screen instructions.
- Press and hold the designated pairing buttons if prompted.
Once paired, test navigation functions.
Step 6: Connect to Wi-Fi
Internet access is required for streaming services and software updates.
- Open Settings.
- Select Network.
- Choose Wi-Fi.
- Select your wireless network.
- Enter the Wi-Fi password.
- Wait for confirmation.
For best performance, use a high-speed broadband connection.
Step 7: Update TV Software
Keeping software updated improves performance and security.
- Open Settings.
- Select System or Support.
- Choose Software Update.
- Select Check for Updates.
- Install available updates.
Allow the TV to restart if required.
Step 8: Activate Your Smart TV
Some TV brands require activation during setup.
- Follow the on-screen instructions.
- Sign in or create an account if required.
- Enter any activation code shown on screen.
- Complete registration.
Once activated, all smart features will become available.
Step 9: Scan for Channels
For antenna or cable users:
- Open Settings.
- Select Channels or Broadcasting.
- Choose Auto Scan.
- Wait for channel detection to complete.
Your available channels will now appear in the channel guide.
Step 10: Install Streaming Apps
Popular streaming applications include:
- Netflix
- YouTube
- Prime Video
- Disney+
- Hulu
- Max
- Peacock
- Paramount+
To install:
- Open the App Store.
- Search for the desired app.
- Select Install.
- Launch the app.
Step 11: Sign In to Streaming Services
- Open the streaming application.
- Select Sign In.
- Enter your account credentials.
- Follow activation instructions if required.
Some services may display an activation code that must be entered on the provider’s website.
Step 12: Connect External Devices
You may connect:
- Streaming Devices
- Gaming Consoles
- Soundbars
- Home Theater Systems
- Blu-ray Players
Use available HDMI ports for the best quality.
Rename inputs for easier access.
Step 13: Optimize Picture Settings
Recommended settings:
- Picture Mode: Standard or Movie
- Brightness: Medium
- Contrast: Medium-High
- Sharpness: Moderate
- Motion Smoothing: Personal Preference
Adjust settings based on room lighting.
Step 14: Optimize Audio Settings
For improved sound:
- Enable Dolby Audio if supported
- Configure Sound Mode
- Connect external speakers or soundbar
- Adjust bass and treble levels
Step 15: Troubleshooting
TV Won’t Turn On
- Check power connections
- Verify outlet functionality
- Replace remote batteries
No Internet Connection
- Restart router
- Reconnect Wi-Fi
- Check network password
Apps Not Working
- Update the app
- Restart the TV
- Clear app cache
No Sound
- Check volume settings
- Verify audio output device
- Restart connected speakers
Latest Blog
Get updates on Latest tips and tricks